

For me, this summer has been a beautiful blur of fruit picking (strawberries, raspberries, cherries, blueberries, peaches, etc.), food preservation (freezing, canning, fermenting, etc.), cooking, gardening, working with nutrition clients, teaching classes, camping, enjoying some down time, and chasing around a toddler who can climb just about anything the second you turn your back.
Now that school is back in session, life is settling into more of a routine. Routines and habits are great if they serve you, and undermine your goals and progress if they don’t! Establishing healthy habits is THE key to establishing a healthy lifestyle, diet, exercise routine, etc. One of the most beneficial healthy habits to establish is eating 3+ cups of vegetables, every day.
There are many healthy habits that I’ve cultivated over the years like making my own almond milk. At first it seemed like a big project, but after I did it a couple times and figured out the process, it became easy and almost meditative. It takes less than 5 minutes and we have fresh homemade almond milk with no funny ingredients to enjoy throughout the week. There are many things like this that I make regularly, and one of them is cultured vegetables.
There are tons of benefits to eating cultured or fermented vegetables regularly with meals or as a snack. Eating cultured vegetables boosts immune function and aids digestion and detoxification. Cultured vegetables are packed with vitamins and minerals. The fermentation process actually produces many vitamins including B vitamins and vitamin K2 which is essential for bone health. Fermented vegetables are loaded with flavor, real food nutrition, and a plethora of probiotics or healthy bacteria for your gut. I make a number of different mixtures of cultured vegetables depending on what’s in-season and abundant in our CSA share, but this recipe is one of my family’s and guests’ all-time favorites. This recipe was inspired by two of my favorite cookbooks: The Whole Life Nutrition Cookbook and Real Food Fermentation.
Rainbow Kraut
Yield: 2 quart jars or 32 (1/4 cup) servings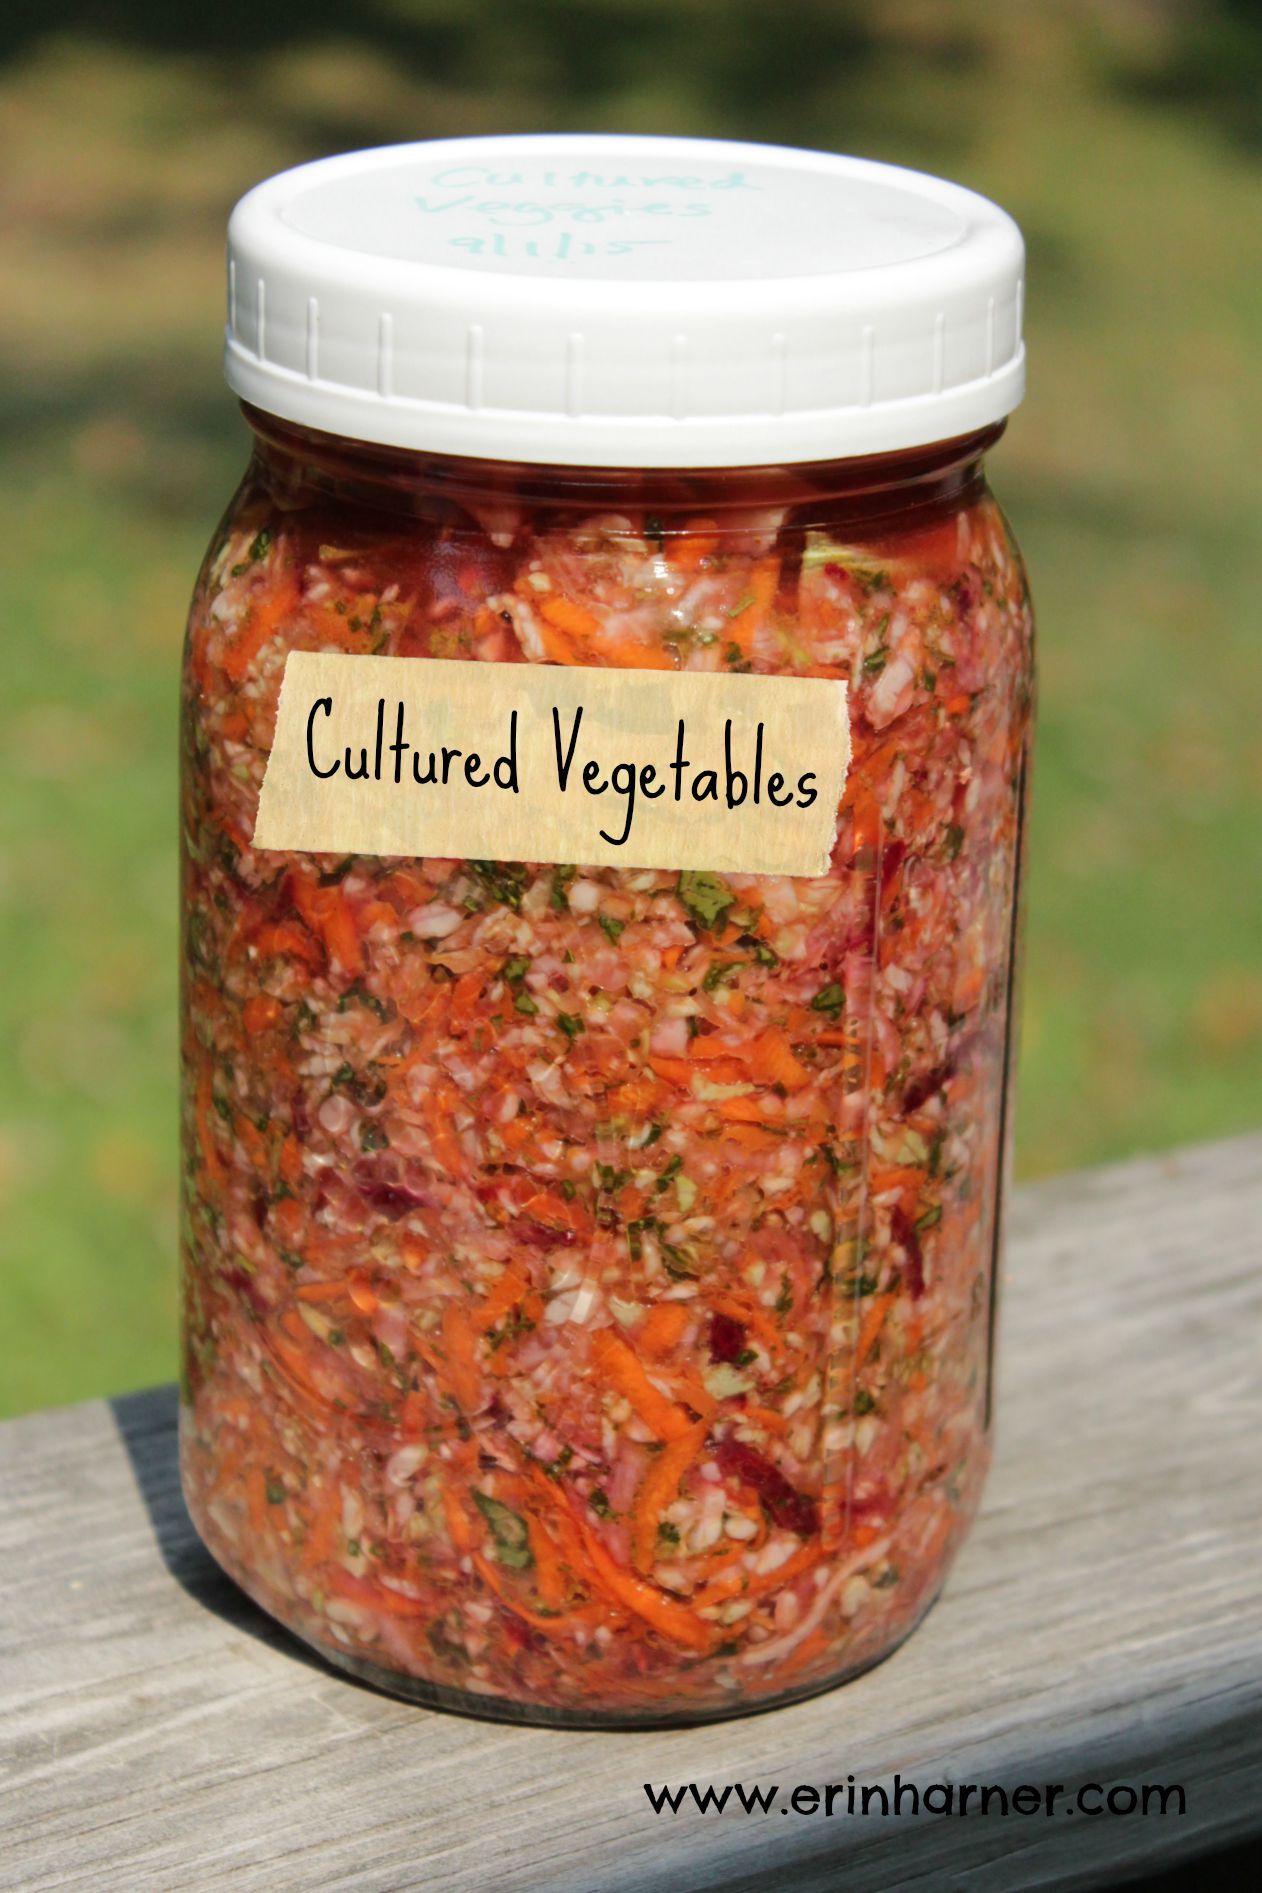
Prep time: about 45 minutes
Total time: 5 to 14 days
Ingredients:
1 medium head green cabbage, washed, cored, and quartered
5 carrots, washed and ends cut off
1 large beet, peeled and halved
1 bunch kale (~8 leaves), washed and de-stemmed
5 cloves garlic
1 lemon, juiced
4 teaspoons sea salt
1 tablespoon dill, dried
Directions:
1. Prep all vegetables as directed above and set aside. Wash two quart jars with hot water and set aside. Peel off 2-3 outer cabbage leaves and set aside.
2A. Using a food processor: Using the shredding plate, shred the cabbage, carrots, and beets and pour into a large bowl. Using the S-blade, chop the kale and garlic finely and pour into bowl with the shredded vegetables.
2B. Not using a food processor: Slice the cabbage very finely using a chef’s knife. Grate carrots and beets using a box grater. Chop kale very finely using a chef’s knife. Mince garlic. Place all vegetables in a large bowl.
3. Add the lemon juice, sea salt, and dried dill to the large bowl and combine well with a large spoon or your hands. Let rest for about 10 minutes.
4. Pack vegetables tightly into quart jars by pressing down with the back of a large spoon or kraut pounder (if you have one) until the brine liquid rises up above the shredded vegetable mixture. Leave about a 1 inch gap above the liquid. If the jar is too full, spoon off some liquid or remove some vegetables. Cover the vegetables with a cabbage leaf folded to the size of the jar. Press the cabbage leaf into the brine to hold down the vegetables.
6. Screw the cap on tightly. Each day, unscrew each jar lid and re-seal to vent the carbon dioxide produced by the fermentation process.
7. Allow the vegetables to ferment for at least 5 days. The longer they ferment, the more sour they will become. Taste a spoonful every day or two until they are fermented to your liking. To slow fermentation, cover jars with tight fitting lids and store in the fridge. These cultured vegetables will keep in the fridge for about 6 months (but hopefully they will be long gone by then)!
Notes:
- If you have airlocks and plugs (like those used for making wine) you can skip burping the jars to release the carbon dioxide produced from fermentation. We cut small holes in plastic wide mouth lids and inserted the plugs and airlocks. While these are not necessary to make cultured vegetables, if you’re going to make them often, it does make the process a little less hands-on during fermentation.
- Once you try this recipe, make it your own! Try swapping out the dill for another herb like parsley, add in ginger, skip the kale, use garlic scapes instead of garlic, etc. When you’re experimenting, just keep the cabbage as the base since it is a very good fermenter and will help along the other vegetables in the kraut. Have fun with it!
I made fermented cabbage once, and I was told to squeeze the cabbage with my hands (after it was completely chopped up, and salt was added), until a lot of the juice came out, before packing it into the jar. Do you find this to be unnecessary?
Pingback: 3 Reasons to Eat More Fermented Foods (and Where to Find Them)